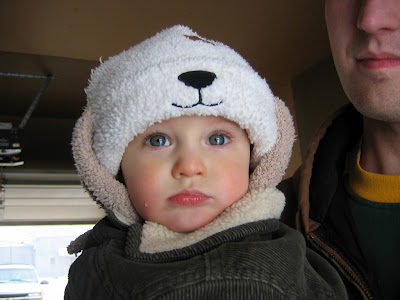
Original photo, by the author of this blog:
My edition version:

Again not being terribly specific, here are the general steps that I took in my editing process (using Picnik):
1) Crop -- cropped it down to a better-focused, more interesting composition (in my opinion at least :-p).
2) Curves -- adjusted the lighting, adding more exposure and contrast.
3) Gritty -- to mute the color slightly and make the lines (local contrast) "pop" a little more. (This is probably my favorite Picnik tool, as you may be able to see from my edited pics so far on this blog. :-p)
4) Focal zoom -- to mute the background and put more focus on this beautiful face.
5) Soften -- only on the skin, to give it a smoother appearance.
6) Zombify -- on the eyes, to bring out the catch light just a tiiiiny bit more.
7) Saturation -- putting a teensy bit more color back in there. :-)
8) Matte -- to soften the edges of the photo.
9) Frames -- self-explanatory. :-)


